Hello all. I am a Nursery Nurse working with special needs children within a main stream school and love it. I have worked as a NN for 34 years and wouldn't change for anything. I have always crafted in some way or another since the age of 7. At present I do a bit of patchwork and quilting, jewellery making and card making.
Sunday, 30 May 2010
Painful expedition!!
Friday, 28 May 2010
Accidents will happen!!
 Lying in bed today resting my leg! While practicing school sports with my class, I slipped and fell. I landed up in casualty where they diagnosed torn ligaments. I have to rest it completely until about Sunday. No crafting for me then! Two flights of stairs to my craft room!! Getting to the loo when required is a major expedition! Have a Stampinup day tomorrow so hoping my husband will take me up and hoping the hotel has a wheel chair so I don't have to walk. The bandage is on until Tuesday night. Will go see the doctor on Monday and see what they think about when I will get back to work.
Tuesday, 18 May 2010
New Popcorn Kids set
Saturday, 15 May 2010
Spending again!!
 Went to a stampinup party last night at a friends house. Made this lovely card. Spent a fortune as usual. Bought new Melon Mambo card stock, polka dot ribbon and inkpad, as well as some other colours of cardstock and a stamp set. Just before I went to the party I placed my order for Popcorn the bear Kids collection. Good job I won £10 on the lottery this week!! Maybe tonight I will be lucky again!!
Thursday, 13 May 2010
Just a piece of scrap!!
I had parents night Tuesday end on to the day and tonight. Yesterday we also had an open evening end on to the day. Then I had bowling. It was freezing, my hands were so cold I could hardly hold my bowl. Our rink drew after a good game, but the other half of our team on the other rink got hammered. We still managed to pick up one point though.
Tomorrow night I am going to a Stampinup party at one of my friends. Got a list ready of items I would like to get.
Managed however to make this little sweet card from a few scraps left over from previous projects and used my new design runner to add the sentiment. Think I will take a while to master where it is going to print on the paper, this was my second attempt. First attempt I lost the end of birthday off the edge of the page!!
Paper is from Crafters Companion Girls cd and the digital stamp is from digistampboutique.
Hope you like it........

Wednesday, 12 May 2010
Have a go project!! May


You will need:
Scraps of card or papers for mounts, stickers, peel offs, die cuts, etc. 1 Sheet of 260gsm card printed on one side and 3 A4 sheet of 260gsm card in white printed on both sides. (Print choice is yours or just use plain card and decorate.) I used Chris Warner Stamp Companion 1 cd for the card base.
Cut your pieces of card for the box to 21cm square, 18cm square and 15cm. Now score 7cm in on all 4 sides of large piece, 6cm on 18cm piece and 5cm on 15cm piece. Cut out the corners.


Fold on your score lines to form the sides of the box.

Decorate your box at this stage.
Cut mounts of card or decorated paper if desired.

Tape or glue the bottom of the two inner boxes and stick inside from largest to smallest.


Sunday, 9 May 2010
Babies with the Cricut especially for Lilian!!
Time to get a cricut Lilian!!!


Couldn't you just eat this one!!!
 Cupcake heaven, you could just eat this one! Image is from digistamp. The papers are from Crafters Companion Girls Cd. The stamp sentiment is from 'Stampinup'. It was coloured in with promarkers.
Saturday, 8 May 2010
Poodle Power!!!!
Lucky Dip Purchase!!
 My recent lucky dip purchase from sugarnellie. Was well worth it. Don't really like taking a chance on lucky dips but on this occasion it was great.
Cricut Tutorial Video.....
This tutorial shows how to use the set paper size when using smaller pieces of paper. Also the quantity button when you want to cut out several of the same design without the need to punch in the amount you need on the display. The autofill button for filling your page with your chosen image. Lastly the portrait feature which allows you to change the orientation of the image to use with directional papers.
Sorry......
 Just to say sorry for not having posted anything for the last few days. I haven't been feeling very well. I have been off work since Wednesday. Thankfully I am feeling a lot better although I still have a slight headache and sore sinuses. Supposed to be bowling at Inverurie today but have cancelled it, all that bending up and down won't do my headache any good!! Not done anything crafty for my blog either, so I am hoping to make a cricut video tutorial for you and upload it later today. (Image is from digistampboutique )
Tuesday, 4 May 2010
Patchwork Polly...Lovely....

 Just love these recent stamps by Jayne Nestorenko. Patchwork Polly range is so versatile, for all occasions. I used promarkers to colour the images. The backing papers are from the new Docrafts Forever Friends cds.
Monday, 3 May 2010
As promised another video.
 As promised the second video I recorded yesterday. another project using my new fab 'Create a Critter' cart from Cricut. Just love this owl to bits. This was cut at 3". The branch was cut at 2" I think. The owl would look just as good with any papers in any colourway.
Video project of Owl card 'Create a Critter' cart
Sunday, 2 May 2010
Video #2 ... Butterfly card using Cricut Create a Critter....
 Finished at last!!!! Been at it most of the day preparing this video. This time using Cricut Create a Critter cart that I received this week. Lots of lovely images on this cart. I have recorded another video which I still have to edit. Hopefully I will get that done tomorrow and uploaded for you to see. The finished card colours have not come out very well in the photo. It was a lovely pink background paper and butterfly with wine contrast papers. These were from the new 'Forever Friends' cds I bought the other week from Create and Craft and Red Hot Bed 'Triple Treasures Volume 2' cds. Will leave you in peace now to watch the video. I appologise for the banging noise at the start. My husband was chopping up a piece of old furniture outside and the noise came through on the video. Cuts are 2" in size.
Saturday, 1 May 2010
Delicate and Pretty...........
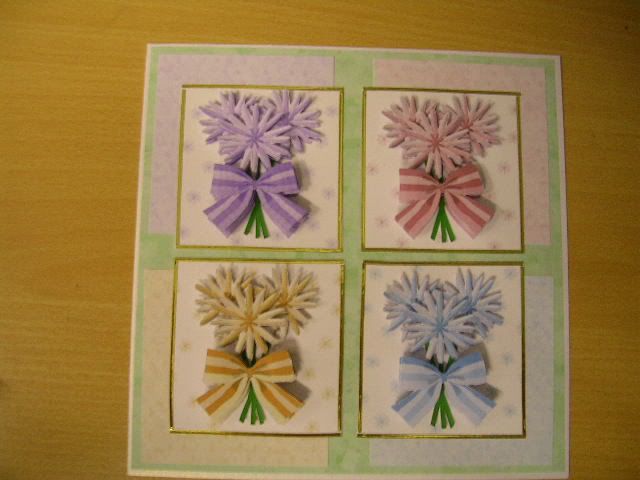
 Love this cd 'Jo's Hearts and Flowers' available here... The colours are so delicate and the designs so pretty. I used several backing papers the same but in different colourways and a bunch of flowers from the artipix section in different colourways (this is Chris's name for decoupage). Here is a link to more samples made from this cd.
Which coat??......
 This is a card I made as a sample for a Create and Craft show which featured 'Ethenicity' cds from Papercraftworld. I used a backing paper, a couple of 3d frames and a border. It was made from an A3 sheet of card folded in half to give a nice large A4 card.
I like Daisy and Dandelion Stamps......
 On a theme obviously..... Another card from Daisy and Dandelion range. Stamp can be found here... and the papers are again from Jo's Winter Wonderland cds at Papercraftworld.
Another one for the boys!!
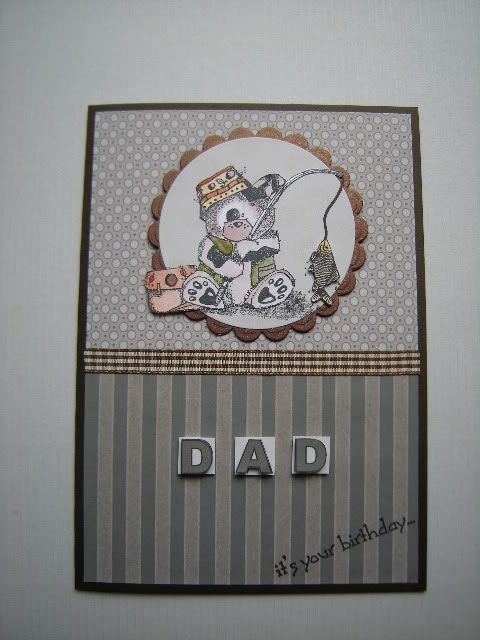
Cards for the boys once again. Fishing themed card with a Dad sentiment but this can be changed or omitted if necessary. Image is a Daisy and Dandelion stamp available from The Glitter Pot . The papers are from Jo's Winter Wonderland Cds from Papercraftworld. Coloured with watercolour paints.


